Pages

Wednesday, January 18, 2012

Pretty Purse


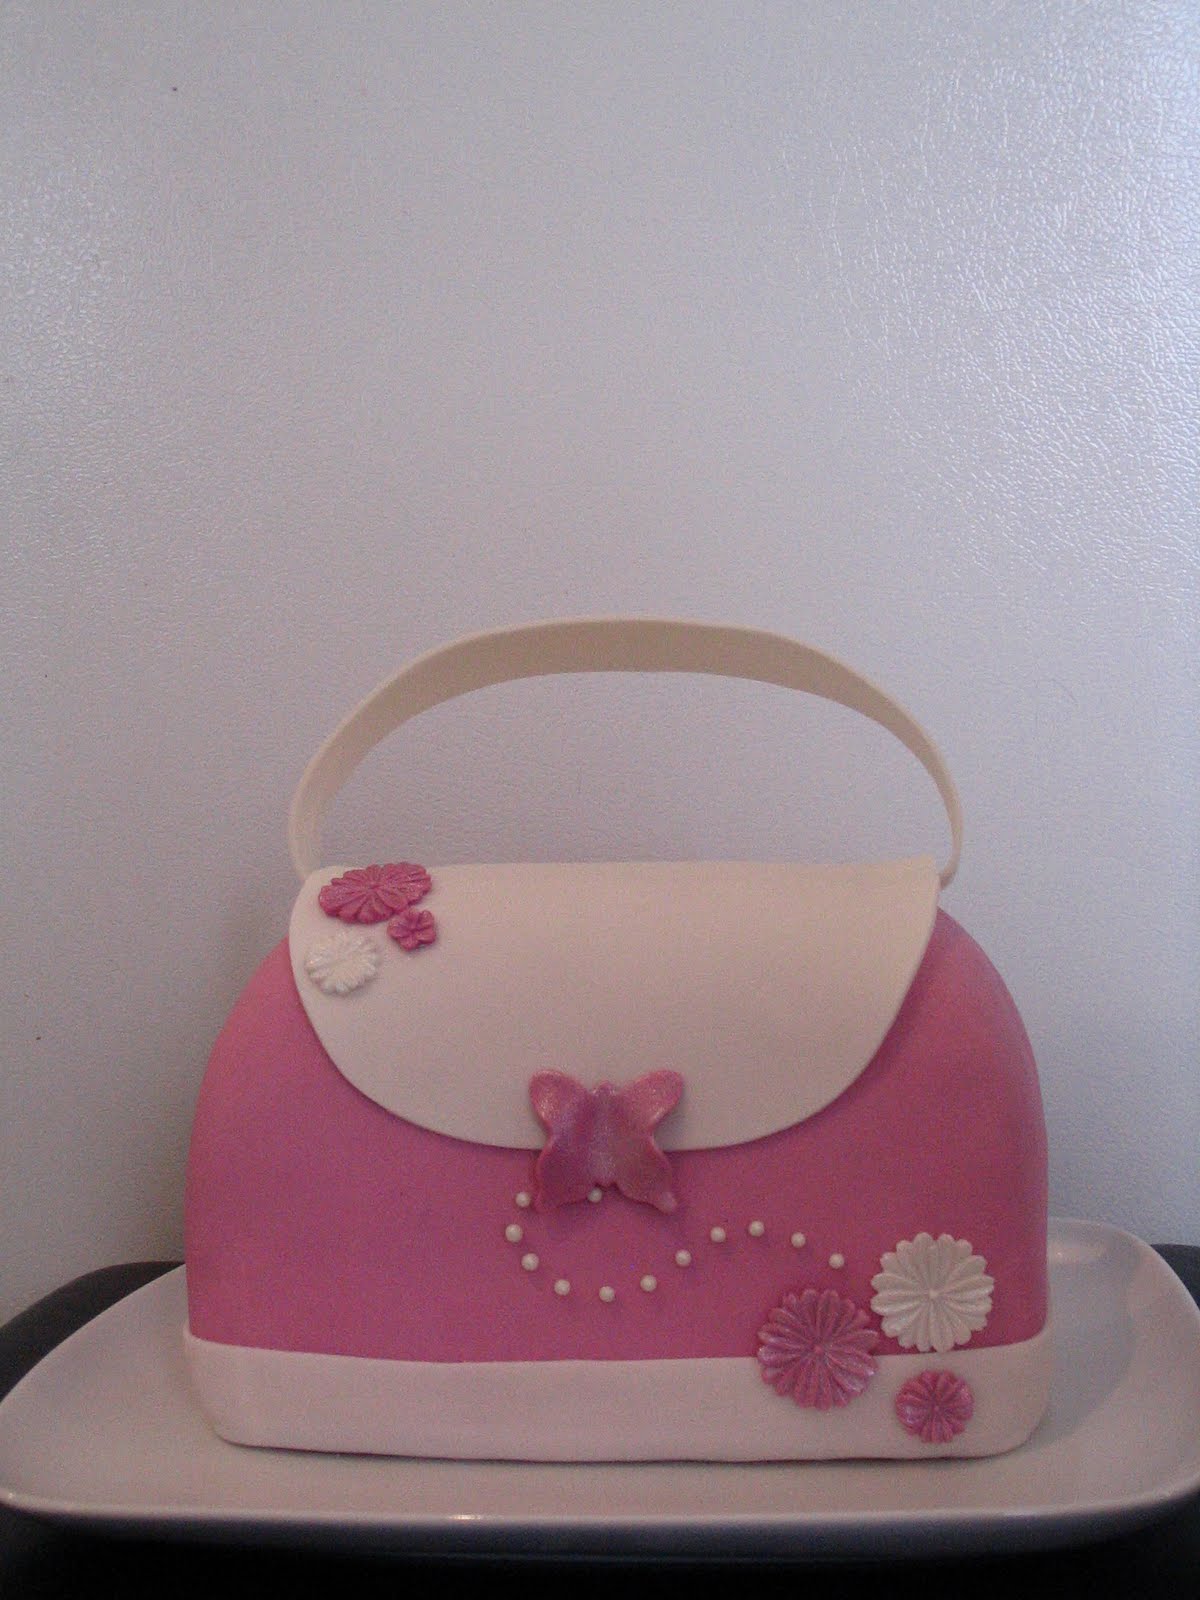
I love this cake. Plain and simple, I love it. I made it for a beautiful little girl who turned four this past Christmas. Her mom is a very dear and wonderful friend of mine, and I love that I get to make cakes for her daughters. I get to play with pink fondant and I'm usually afforded quite a bit of creative control. I also got to cheat on this cake and not put it on a cake board. Somehow not having to decorate a cake board made the process seem so much faster!

I started out with a rectangle cake which I cut into three equal pieces and stacked with buttercream in between the layers. I wanted to keep as much cake in tact as possible, so did as little carving as I could to achieve a purse shape. Unfortunately the fondant went on horribly (I had a little boy run to my legs and want to be picked up in the middle of covering the cake, which was not helping matters) but the white band detail on the bottom really adds something and hides the puckers. I made the flowers by pressing fondant in a silicon mould. These type of moulds are great since you get so much detail. This was the first time I had used this mould, and I love these little flowers! To make the butterfly, I just cut out a butterfly shape with a cookie cutter and sort of moulded the wings how I wanted them to look. After all the details dried, I dusted all them with white pearl dust to make them pop. The pearls were just a little added sweetness and are supposed to look a like the path the butterfly has flown from the flowers to the clasp of the purse.

I used gum paste to make the handle, which dries faster and harder than fondant so you're able to make these type of details without the fear of them drooping or falling over. It's also very light, so easy to adhere onto the cake.

After finishing I phoned my friend to describe what I had done. I was worried that it was too simple. I love simple and clean, unfussy design, but not everyone shares that same esthetic. After describing it to her I told her that if I had a daughter and this cake was for her, I would stop decorating now, and leave it. That was all she needed to hear. Thankfully she loved it, and most importantly her daughter loved it, too.

Tuesday, January 17, 2012

Vrooom!


This cake was for a friend of mind who's son was turning two. This was my second car cake and it was really nice to do a repeat of a shaped cake. We decided that it would be easiest to use the car pan and decorate it like a race car. I think this pan makes a really cute Herbie-like kind of car, and used that car as my inspiration while decorating. I kept the cake board pretty simple with a race track and a few chocolate rocks here and there as to not take away from the car.

It was fun to decorate and when I asked how her son had enjoyed her cake, she said he had thought it was a real toy car! That's exactly what I was going for. Love making cakes for these little people. They're always so amazed and excited.

Monday, January 16, 2012

BATMAN!


This cake looks deceivingly simple but was anything but. Once again I made the mistake of not researching a design before agreeing to it. Even if I had, I would have said "yes" to this cake, but still...I had no idea what I was in store for when I started. You think...oval...yeah, that's simple. And an outline of a bat...yeah, that's simple. Um...nope, not exactly. You see, pans do not come in an oval shape, and I only have a certain size of rectangle pan. Thankfully I have a perfectionist husband who enlarged and traced both the oval and bat to scale and encouraged me all along that it could be nearly perfect.

It ended up that I could piece together cake to make a true oval, which is a lot trickier to make out of a rectangle than I originally thought. You see, in some ways it's easier to carve an abstract shape than to create a symmetrical shape since the abstract leaves room for interpretation and even an ounce of imperfection.

For the bat, I used the paper template that my DH had made for me and by the third or fourth try, got it just right. I loved it when it came together, but the journey there was quite the learning experience!

Sunday, January 15, 2012

Dinosaur Party


This summer, a my dear friend, C, really wanted to make her son an amazing birthday cake. Her son was turning two and loves dinosaurs. So the cake design was obvious. A dinosaur. She found a design online and phoned me to see if I could help her make this dream cake a reality.

She started out by borrowing my pans to make the base, which is an 8 inch double layer round cake and the dinosaur's body, made from half of a ball pan. We then set up an evening to me to come and show her how to drape the cake in fondant. That first evening we got both cakes draped and started forming the dinosaur's neck out of rice cereal treats. The next morning I went back and helped with the decorating. We cut out leaves to go around the base of the cake and made a cute tail and feet. C created the face, and I love it. It's the best part of that dinosaur and makes him super cute. A few more details of spots and spikes down the back, rocks to make it look complete and we were finished. It was fun to work together, and I do believe that C will be creating amazing cakes every birthday for her wonderful son!